Key Takeaways
- Screened in patio enclosures can develop holes or tears over time, but repairing them is straightforward.
- Assess the damage first, then gather materials such as clear nail polish, fiberglass screen repair tape, and fishing line.
- For minor tears, use clear nail polish; for larger holes, apply self-adhesive tape; for fiberglass screens, stitch with fishing line.
- Finish by trimming excess material and smoothing the repair to blend with the screen.
- Always prioritize safety and follow manufacturer instructions during repairs.
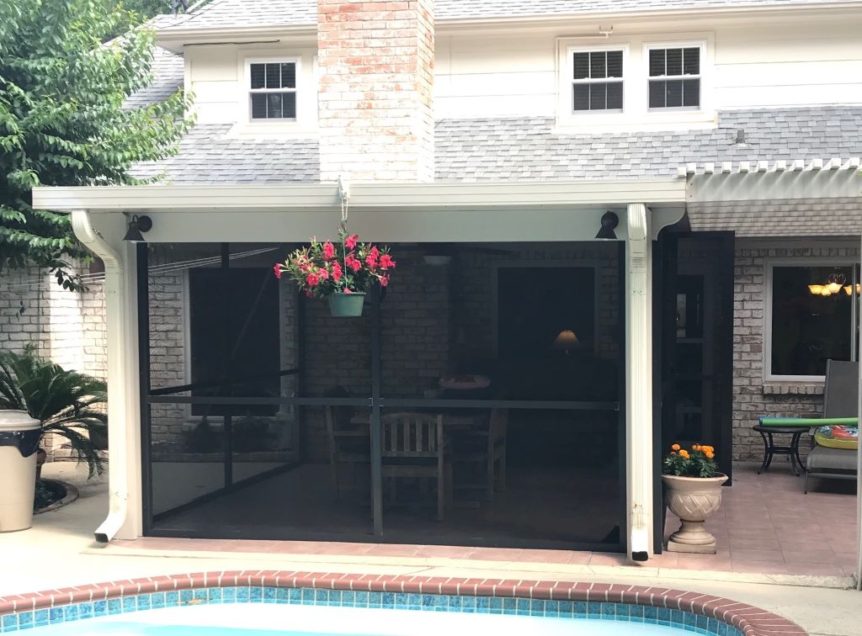
Screened in patio enclosures in Austin are wonderful spaces for enjoying the outdoors while keeping pesky bugs at bay. However, over time, holes or tears can appear in the screen material due to wear and tear or accidental damage. Don’t worry; repairing them is easier than you might think. Follow these steps to restore your screen room to its bug-free glory:
- Assess the Damage:
- Examine the hole or tear carefully. Is it a small puncture or a larger rip? Knowing the extent of the damage will help you choose the right repair method.
- Materials You’ll Need:
- Clear nail polish (for minor tears)
- Self-adhesive fiberglass screen repair tape (for larger holes)
- Needle and fishing line (for fiberglass screens)
- For Minor Tears (Using Clear Nail Polish):
- Apply clear nail polish to both sides of the tear. This will seal it up, but keep in mind that you won’t get airflow through that section. It’s a quick fix for small holes.
- For Larger Holes (Using Self-Adhesive Tape):
- Cut a piece of self-adhesive fiberglass screen repair tape to cover the hole or tear.
- Peel off the backing and carefully place the tape over the damaged area.
- Press it down firmly to ensure proper adhesion.
- For Fiberglass Bug Screens (Using Needle and Fishing Line):
- Thread a needle with fishing line.
- Stitch the tear together, weaving the needle through the screen strands.
- Seal the stitched area with a dab of superglue.
- Finishing Touches:
- Trim any excess tape or fishing line using scissors or a utility knife.
- Smooth out the repaired section to ensure it blends seamlessly with the rest of the screen.
Remember, safety first and avoid mistakes! Always follow manufacturer instructions and take precautions when handling sharp tools or adhesives. With these simple steps, you’ll have your screened patio in San Antonio looking as good as new in no time. Enjoy bug-free relaxation once again.
Feel free to reach out if you have any other questions about patio screening or possibly building an aluminum patio cover onto your Texas home.